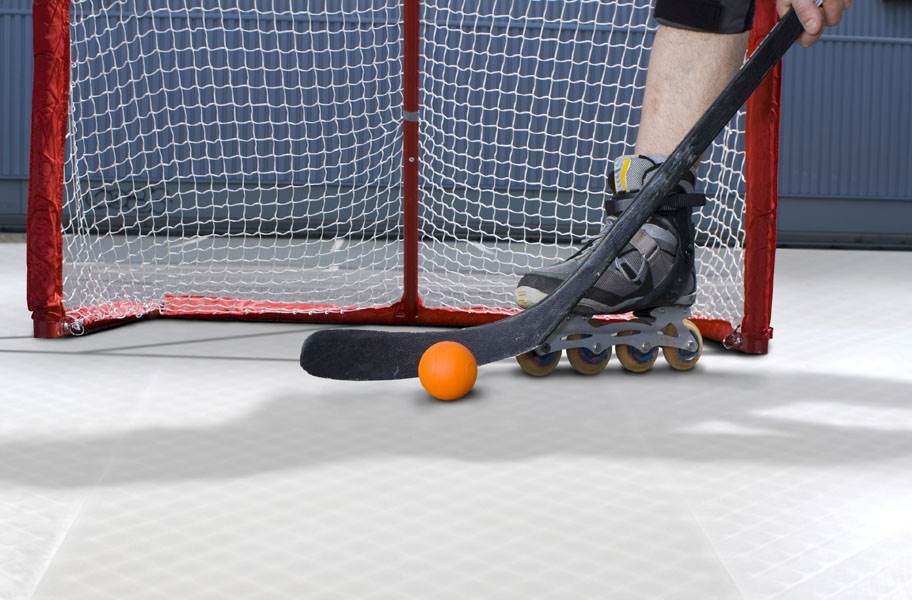
Believe it or not, you can install an ice skating rink in the comfort of your own home by installing synthetic ice panels. Ice skaters and hockey players all around the globe have been able to build their own ice skating rinks and use them every day. The best thing is that it is not that difficult to do, and can be done in a manner of a couple of hours at the most. Want to build your own ice skating rink? Keep reading to see how.
Table of Contents
Choose Your Place
The first thing you have to do in order to build your perfect ice skating rink is to determine where you will put it. Synthetic ice can go outdoors, so it is an option to build a rink outside. However, the flooring can be successfully installed in the house, the garage, in a storage building…wherever. The first thing to make sure of is that the area is flat, level, and sturdy enough to handle ice skaters skating on it.
If you want to build on carpet or on your lawn, you may have to lay down a subflooring foundation first. We will get back to that later.
Measure Your Area
In order to get an accurate idea of how many panels that you will need in order to build your flooring, you will have to measure out your area. Some areas will differ in size from other areas because the amount of room that you have to work with could either be limited or abundant. If you are not worried about buying too much flooring, then, by all means, get extra…however…if you do not order enough you might have to wait until you get more supplies delivered before you can start skating.
Consider Your Flooring

We mentioned above that if you want to build your flooring upon grass or carpet that you might need to lay down a sub-flooring first. This subflooring will be in place to support the ice tiles so that they don’t crack or break under the pressure of the ice skaters.
In order to lay down, subflooring all you have to do is get some plywood panels and lay them on the floor, evenly and without cracks or raises. You might have to attach a hard plastic covering on top of the subflooring in order to ensure that there are no gaps, but you should be able to get it flat and straight if you take the time and effort to do it right.
Lay the boards down flat, and build your ice panels on it in the same way that we will describe below.
Lay Your Ice Panels Down
Once you have established your flooring whether it be cement, wooden subflooring, or whatever works for your situation you can begin laying down your synthetic ice panels.
The most important thing to remember is to start in the center of your flooring area and work your way outward. It is the same way if you are installing hockey tiles. If you try to build from the outside in, you might run into problems when you get in the middle.
Lay your first panel down, then interlock the next one with the tabs that are provided. It is pretty simple, but you have to make sure that each panel when it is inserted is placed on the ground flat without gaps or raises.
Tamp Down the Surface
The next thing to do after the entire flooring is down and seated, is to tamp down each and every joined part of every panel. Go around with a rubber mallet and make sure that all of the panels are joined together flush, without any kind of bumps or rises in the flooring. If you leave raised edges, you will fall on your face when you skate over them.
Skate
As soon as your flooring is flat on the floor, tamped down, and ready to go, put your skates on and go for a good skate. If you installed the flooring flat, smooth, and flush you will be able to glide across it and easily maneuver your way around.
***Sniper’s Edge Hockey loves Canada! We proudly ship all of our products to Canada and offer the same return policies as we do for everybody else. We realize the exchange rates for the Canadian dollar are not the best right now, so we’re trying to help by giving you free shipping and no customs/duty.***


